Industry News
Push button switch manufacturer reveals disassembly method for you
Views : 11865
Author : HBAN PUSH BUTTON SWITCH
Update time : 2021-04-25 10:01:49
Switch button how to disassemble and assemble, the first step is to prepare special tools, a small straight-shaped screwdriver and a large cross-shaped screwdriver. The first step is to open the back cover of the wall switch. Generally, we can see an opening of about 0.5cm under the back cover. We can open the back cover from here. Then take out the small straight-shaped screwdriver in the special tool we prepared before, and slowly tilt the rear cover plate forward from the opening position, and then it is easy to take it out.
After opening the rear cover, we still cannot see the fixing bolts. We need to take out the panel switch, and then use a small screwdriver to carefully pry the panel switch forward, in this way, the panel switch will fall off by itself. Then you can take out the second panel switch according to the above method, and then you will see the two fixing bolts on the mounting frame. Use a Phillips screwdriver to rotate counterclockwise to take out the entire wall switch. After taking it out, replace the new wall switch according to the original wiring method. Normally, the terminal of L is connected to the wire, L1 or L2 is connected to the lamp wire.
When the switch is disassembled, remove the waterproof cover outside first. We can see a small gap on the side of the waterproof cover, use a small straight-shaped screwdriver to insert it and knock it hard to take out the waterproof cover. After the mask is removed, you can see screws on both sides, unscrew the screw switch and open it naturally. After turning on the panel switch, we need to replace it with a new one. We will remove the wires on the old panel switch and then re-fix it to the corresponding position of the new panel switch. Under normal circumstances, there will be at least five wires on the switch of Yuba, two wires for heating, one wire for ventilation, one wire for lighting, and one wire for live. We will change all the five wires to the new panel switch and then install them according to the original steps. After the final installation, we will open the main gate and try it out.
Related News
Read More >>
 HB-TS Series Touch Switch Product Introduction | HBAN Push button
Jan .14.2026
HBAN HB-TS Series is a high-performance industrial capacitive touch switch, engineered to replace traditional spring buttons. Boasting IP68 waterproof and IK09 shockproof ratings, it delivers a reliable 1,000,000 electrical cycles lifespan, ideal for hars
 HBPS series Piezoelectric switch Product Introduction | HBAN Push button
Dec .20.2025
As a Chinese manufacturer with 23 years of piezoelectric switch expertise, HBAN’s HBPS Series stands out with IP68 waterproof, IK09 impact resistance, and stainless steel construction. Offering concave/flat/concave ring head types (16mm limited to two opt
 HBS1-D series push button switch Product Introduction | HBAN Push button
Oct .27.2025
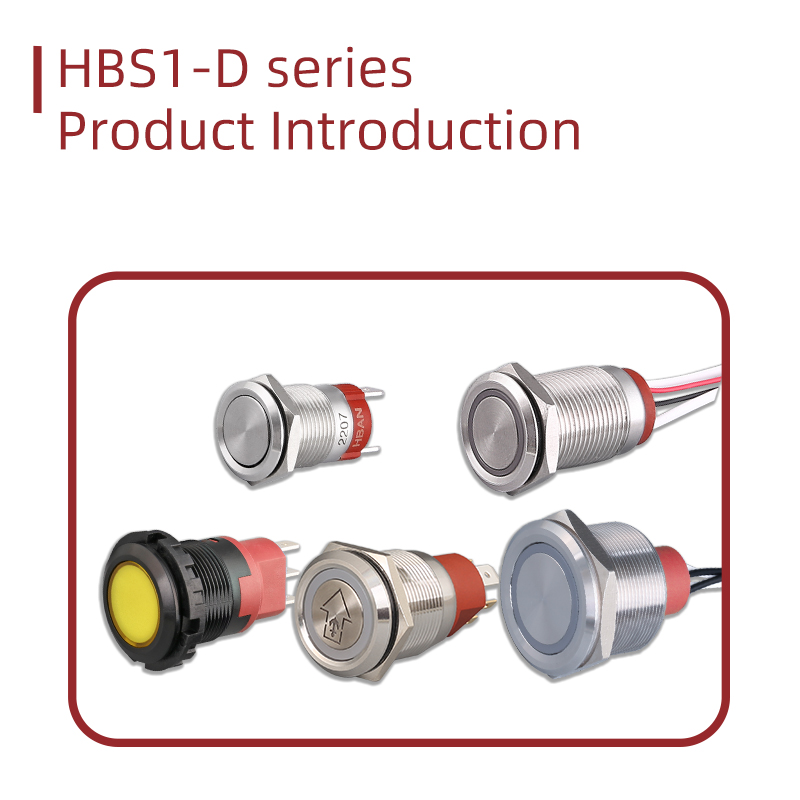
The HBS1-D series push button switches feature multiple mounting options, IP67 waterproof rating, and up to 5 million mechanical cycles, making them ideal for smart home systems, industrial equipment, and high-load applications.
 HB-K10 HB-K20 Series Product Introduction | HBAN Push button
Sep .15.2025
China Hban unveils a new series of heavy-duty push button switches, designed for high-current industrial control with up to 20A capacity and customizable features.


