

How to test a push button starter switch?
Introduction
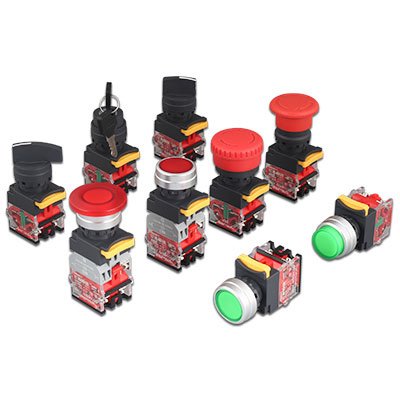
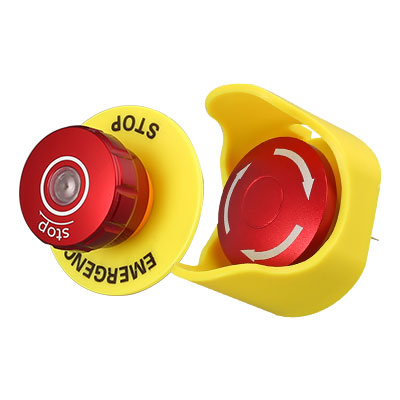
The push button starter switch is an essential component of various electrical systems, including automotive applications. It allows you to start and stop the system with a simple press. However, like any electrical component, it may encounter issues over time. Testing the push button starter switch ensures its proper functionality and helps diagnose any potential problems. This guide will provide you with step-by-step instructions on how to effectively test a push button starter switch.
Step 1: Prepare for Testing
Before starting the testing process, gather the necessary tools and equipment. You will need a multimeter, a device used to measure electrical values, such as voltage and continuity. Ensure that the push button starter switch is accessible and the power source is disconnected to prevent any accidents.
Step 2: Test the Start Button
Begin by testing the start button of the push button starter switch. Set the multimeter to the continuity or resistance mode. Touch the probes of the multimeter to the terminals of the start button. If the switch is functioning correctly, the multimeter will indicate continuity or a low resistance value. This confirms that the circuit is closed when the start button is pressed.
Step 3: Test the Stop Button
Next, proceed to test the stop button of the push button starter switch. Follow the same process as in Step 2, touching the probes of the multimeter to the terminals of the stop button. Once again, the multimeter should indicate continuity or a low resistance value when the stop button is pressed. This confirms that the circuit is closed when the stop button is engaged, effectively stopping the system.
Step 4: Check for Voltage
In addition to testing continuity, it's important to check for voltage in the push button starter switch. Set the multimeter to the voltage mode and touch the probes to the appropriate terminals of the switch. When the start button is pressed, the multimeter should display the expected voltage. Similarly, when the stop button is engaged, the multimeter should indicate no voltage or a significantly lower value, indicating that the circuit is open.
Step 5: Interpret the Test Results
Based on the test results, you can interpret the functionality of the push button starter switch. If the switch exhibits continuity, responds to button presses, and displays the expected voltage, it is likely in good working condition. However, if the switch shows no continuity, erratic readings, or no voltage change, it may indicate a faulty switch that needs to be replaced.
Conclusion
Testing a push button starter switch is a straightforward process that ensures the proper functioning of the start and stop buttons. By following the step-by-step instructions outlined in this guide, you can effectively test the switch using a multimeter. Regular testing helps identify any issues and allows for timely maintenance or replacement, ensuring the smooth operation of your electrical system.