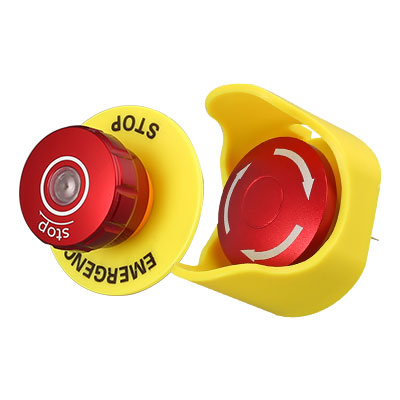
How to Install Push Button Switches on Your Car - Step by Step Guide
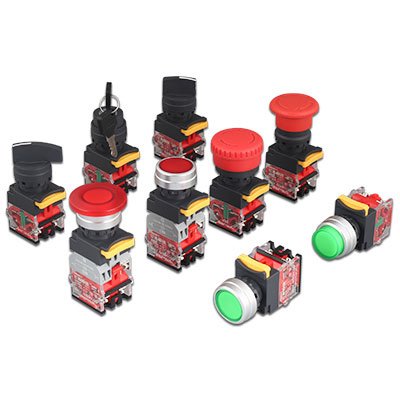
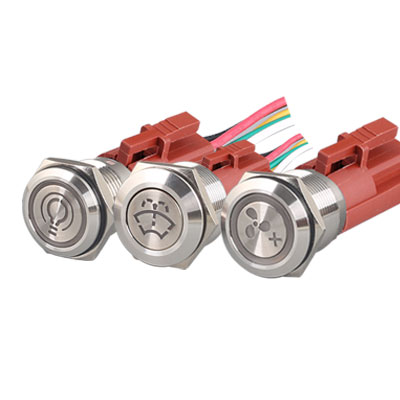
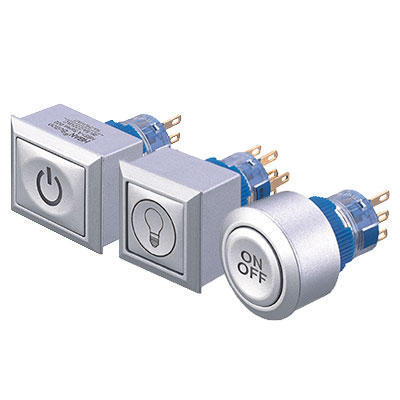
Pushbutton switches are a popular addition to cars, allowing for easy and quick operation of various functions such as turning on headlights, fog lights, or activating a horn. If you are considering installing pushbutton switches on your car, this guide will provide step-by-step instructions to help you do it safely and effectively.
Step 1: Plan and Prepare
The first step in installing pushbutton switches is to plan out where you want to install them. You should consider which functions you want to operate with the pushbuttons and where they will be most easily accessible while driving. Once you have decided on the location, you need to gather all the necessary tools and materials.
You will need pushbutton switches, wires, wire connectors, a soldering iron, and a multimeter. It’s also essential to have a wiring diagram of your car’s electrical system, which you can find in your car’s owner manual or through an online search.
Step 2: Disconnect the Battery
Before beginning any electrical work on your car, it’s essential to disconnect the battery to prevent any electrical shock or short circuits. Locate your car’s battery, and use a tool to loosen the negative battery cable clamp. Remove the clamp from the battery terminal and place it aside.
Step 3: Remove the Panels
If you’re installing pushbutton switches on the dashboard, you may need to remove some panels to access the electrical system. Use a screwdriver or panel removal tool to remove any screws or clips holding the panels in place. Take care not to damage any wires or connectors while removing the panels.
Step 4: Install the Switches
Once you have access to the electrical system, it’s time to install the pushbutton switches. Use a drill to make a hole in the location where you want to install the switch. The hole should be slightly smaller than the diameter of the switch, so it fits snugly.
Insert the switch into the hole and use a locking nut or washer to secure it in place. Take care not to over-tighten the nut, as this can damage the switch.
Step 5: Connect the Wires
After installing the switches, it’s time to connect the wires. Use a wire stripper to remove a small section of insulation from the end of each wire that you will be connecting to the switch. Use wire connectors or soldering iron to attach the wires to the switch terminals, following the wiring diagram for your car.
It’s essential to connect the wires correctly to prevent any short circuits or damage to your car’s electrical system. You can use a multimeter to test the continuity of the wires and ensure they are connected correctly.
Step 6: Test the Switches
Once you have connected the wires, it’s time to test the switches. Reconnect the battery and turn on the car’s ignition. Press each switch to check if it operates the function you want it to. If the switch does not work, double-check the wiring connections or consult a professional.
Step 7: Secure the Wires
After testing the switches, it’s time to secure the wires in place. Use cable ties or electrical tape to keep the wires neat and organized, preventing them from getting tangled or damaged while driving.
Step 8: Reassemble the Panels
Once you have secured the wires, it’s time to reassemble the panels you removed in Step 3. Use the same screws or clips to secure the panels back in place, making sure they are snug and secure.
Step 9: Enjoy Your New Switches
Congratulations! You have successfully installed pushbutton switches on your car. Enjoy the convenience of quick and easy operation of your car’s functions with the touch of a button.
In conclusion, installing pushbutton switches on your car can be a great way to customize your driving experience and make operating your
 Discover The Surprising Benefits Of Using A Mushroom Push Button | HBAN Push button
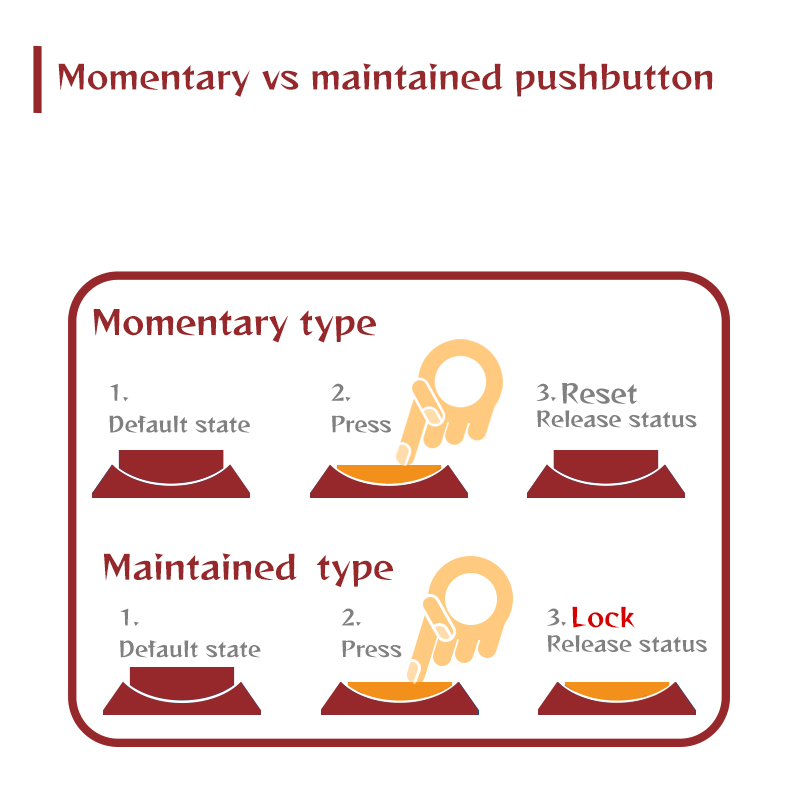 Momentary vs maintained push button | HBAN Push button
 What is a 12mm push button switch?
 Spring Festival holiday notice | HBAN Push button


