

How does a 4 pin switch work?
How Does a 4-Pin Switch Work? Understanding Wiring a Light Switch
Introduction
How Does a 4-Pin Switch Work?
A 4-pin switch typically consists of four terminals labeled as "L1," "COM," "NO1" (normally open 1) and "NO2" (normally open 2).Here's a breakdown of their functions:
- L1: This terminal is the led connection.
- COM: This terminal is the common connection. It serves as the bridge between L1. When the switch is in the ON position, the COM terminal establishes a connection between L1 and L2, allowing the electrical current to flow and power the light.
- NO: This terminal is the normally open connection. It is an additional terminal that remains open when the switch is in the OFF position. When the switch is toggled to the ON position, the NO terminal connects to the COM terminal, closing the circuit and allowing the current to flow.

What Is the Purpose of a Push Button with an Indicator Light?
A push button with an indicator light is designed to enhance both the functionality and usability of a wide array of equipment. Here's why it's essential:
-
Control Function: At its core, the push button allows the user to easily activate or deactivate devices. This straightforward mechanism is crucial in managing operations efficiently.
-
Visual Feedback: The integrated indicator light provides immediate visual confirmation of the equipment's status. Whether a machine is started, stopped, or in standby mode, the light reflects real-time operational conditions, minimizing the guesswork for users.
-
Enhanced Safety: By offering a clear visual cue, it helps prevent potential operational errors. Users can quickly assess whether a system is active or has been safely shut down, contributing to safer work environments.
-
Improved User Experience: By combining control and feedback in a single device, the experience becomes more intuiive. This design simplifies interaction and reduces the learning curve for new or temporary users.
In summary, push buttons with indicator lights are vital in ensuring operational clarity and safety while enhancing user interaction with equipment across various applications.
To successfully install a 4-pin button with an indicator light, you'll need a variety of tools and materials.
Here's a comprehensive list to guide you:
-
4-Pin Button with Indicator Light: Ensure it matches the specifications required for your project.
-
Connecting Wires: These should be suitable for the type and current of your circuit.
-
Soldering Tools: A soldering iron and solder are essential if your installation requires soldered connections.
-
Screwdriver Set: Different screw head types may be present, so a versatile set is helpful.
-
Testing Equipment: A multimeter will help verify connections and ensure everything is working properly after installation.
The right tools and materials will ensure a smooth installation process, resulting in a reliable and functional setup.
Wiring a Light Switch with a 4-Pin Switch
Now that we understand the basic functionality of a 4-pin switch, let's explore how to wire a light switch using this type of switch. Here's a step-by-step guide:1. Turn off the power: Before starting any electrical work, ensure that the power to the circuit is turned off at the main electrical panel.
2. Remove the old switch: If replacing an existing switch, remove the cover plate and unscrew the switch from the electrical box. Disconnect the wires from the old switch.
3. Prepare the wires: Strip the insulation from the end of the wires that will be connected to the 4-pin switch. If necessary, trim the wires to a suitable length.
4. Connect the wires: Connect the hot wire from the power source to the L1 terminal of the 4-pin switch. Connect the hot wire leading to the light fixture or device to the L2 terminal. Finally, connect the neutral wires together.
5. Secure the connections: Ensure all connections are secure and tight. Double-check that no exposed wires are protruding from the terminals.
6. Mount the switch: Carefully place the 4-pin switch back into the electrical box and secure it with screws. Attach the cover plate.
7. Restore power: Turn the power back on at the main electrical panel.

Testing the Functionality of a 4-Pin Button:
After installing a 4-pin button, it's crucial to ensure that it operates correctly. Here's a simplified guide to testing its functionality:
-
Restoration of Power:
- Begin by safely reconnecting the power supply to the button. Ensure all connections are secure to avoid any malfunctions.
-
Operational Test:
- Press the button to verify two primary functions:
- Switch Mechanism: Listen and feel for a distinct click or any indicator that the switch mechanism is engaging.
- Indicator Light: Confirm that the light illuminates as expected when the button is pressed, suggesting proper alignment and connection of pins.
- Press the button to verify two primary functions:
-
Troubleshooting Common Issues:
- If the button doesn't operate as expected:
- Double-check wiring connections for any looseness or incorrect placement.
- Ensure that power is consistently supplied and that there are no interruptions in the electrical circuit.
- If the button doesn't operate as expected:
-
Repeat Testing:
- Conduct multiple presses to ensure the button responds reliably over repeated uses. This helps in identifying intermittent issues that might not appear immediately.
By following these steps, you'll be able to detect any functional discrepancies and ensure your 4-pin button works as intended.
Conclusion
Understanding how a 4-pin switch works and knowing how to wire a light switch using this type of switch is essential for controlling your lighting system. By following the step-by-step guide provided in this article, you can confidently wire a light switch with a 4-pin switch, ensuring a safe and functional installation. Remember to always prioritize safety and consult a qualified electrician if you are uncertain about any electrical work. Guide to waterproof push button switches that enhance equipment durability | HBAN Push button
 Discover The Surprising Benefits Of Using A Mushroom Push Button | HBAN Push button
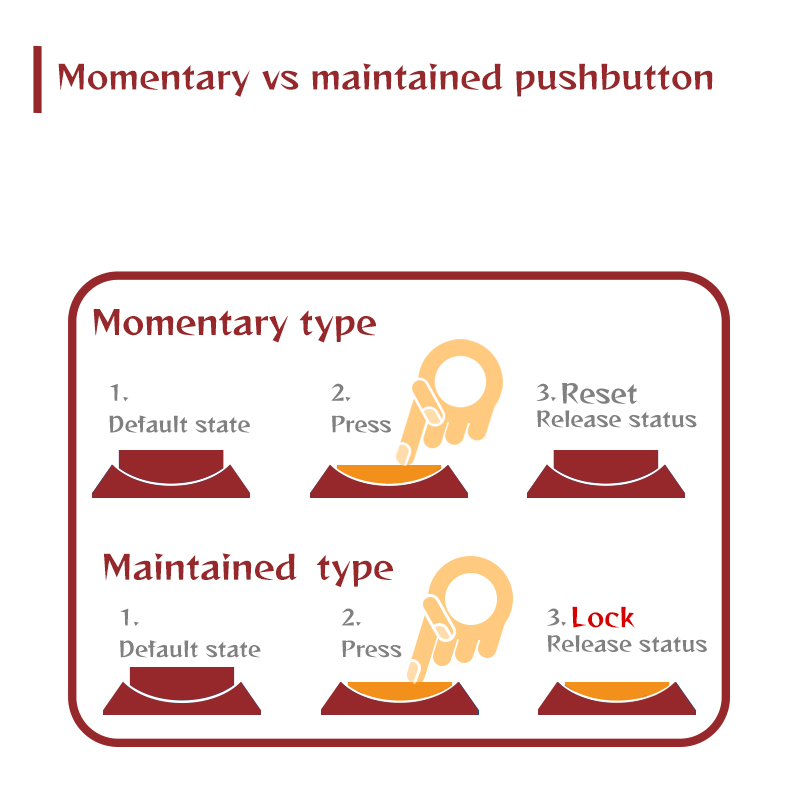 Momentary vs maintained push button | HBAN Push button
 What is a 12mm push button switch? | HBAN Push button